In this Article
P2 is the takeaway checkpoint, the moment the club shaft turns parallel to the ground early in the backswing. Here's what a correct P2 golf swing position looks like, the two ways golfers get it wrong, and the drills that fix it.
In the P-system coaches and video analysts use to break the swing into checkpoints, the P2 golf swing position is the takeaway: the split second early in the backswing when the club shaft turns parallel to the ground for the first time. It sounds like a small, almost throwaway moment. It isn’t. Get the club on plane here and the rest of the backswing tends to fall into place. Get it wrong, and you spend the next six checkpoints compensating for a mistake you made in the first eighteen inches.
I’ve been teaching golf out of the Chicago area for seven years, and the takeaway is one of the first things I look at on video with a new student. Most golfers have never once watched themselves from behind on the target line during this part of the swing, so they have no idea their club is already fifteen degrees off plane before they’ve even finished turning their shoulders. This guide walks through exactly what a correct P2 golf swing position looks like, the two opposite ways it goes wrong, and the drills that actually fix it.
Table of Contents
Table of Contents
Where P2 Sits in the Sequence
The P-system numbers the golf swing from address to finish. P2 is the second checkpoint, right after setup and just before the backswing really starts to develop.
| Position | What it is |
|---|---|
| P1 | Address – setup, before any movement |
| P2 | Takeaway – shaft parallel to the ground going back |
| P3 | Lead arm parallel to the ground going back |
| P4 | Top of the backswing |
| P5 | Lead arm parallel to the ground coming down |
| P6 | Shaft parallel to the ground in the downswing |
| P7 | Impact |
Notice that P2 and P3 are really one continuous motion split into two checkpoints for the sake of analysis – the takeaway (P2) is the first third of the way back, and by P3 the lead arm has reached parallel with real wrist hinge starting to show. If you’ve read our piece on the one-piece takeaway, you already know that what happens in these first eighteen inches sets the swing plane for everything after it. P2 is simply the checkpoint where you can actually measure it.
What a Correct P2 Golf Swing Position Looks Like
Freeze your swing the instant the club shaft becomes parallel to the ground on the way back, and check these six things. Miss more than one and it’s worth spending a range session just on this.
- Shaft parallel to your toe line. Down the line, the shaft should point roughly along your target line, not noticeably left or right of it.
- Clubhead outside your hands. From face on, the clubhead should still be outside the line of your hands, not tucked in behind your body already.
- Toe pointing up, not the face wide open or hooded shut. The toe of the club should point roughly skyward. A face pointing at the sky is open; one still square to the ground is shut.
- Minimal wrist hinge so far. Real wrist hinge belongs at P3, not P2. If your wrists have already fully cocked at this point, you’re early – a classic early wrist hinge pattern that usually shows up here first.
- Shoulders and hips have started turning together. The takeaway should be driven by rotation, not by your hands and arms lifting the club on their own.
- Weight has begun loading into your trail foot. A subtle shift, not a lunge – just enough that you can feel pressure building on the inside of your trail leg.
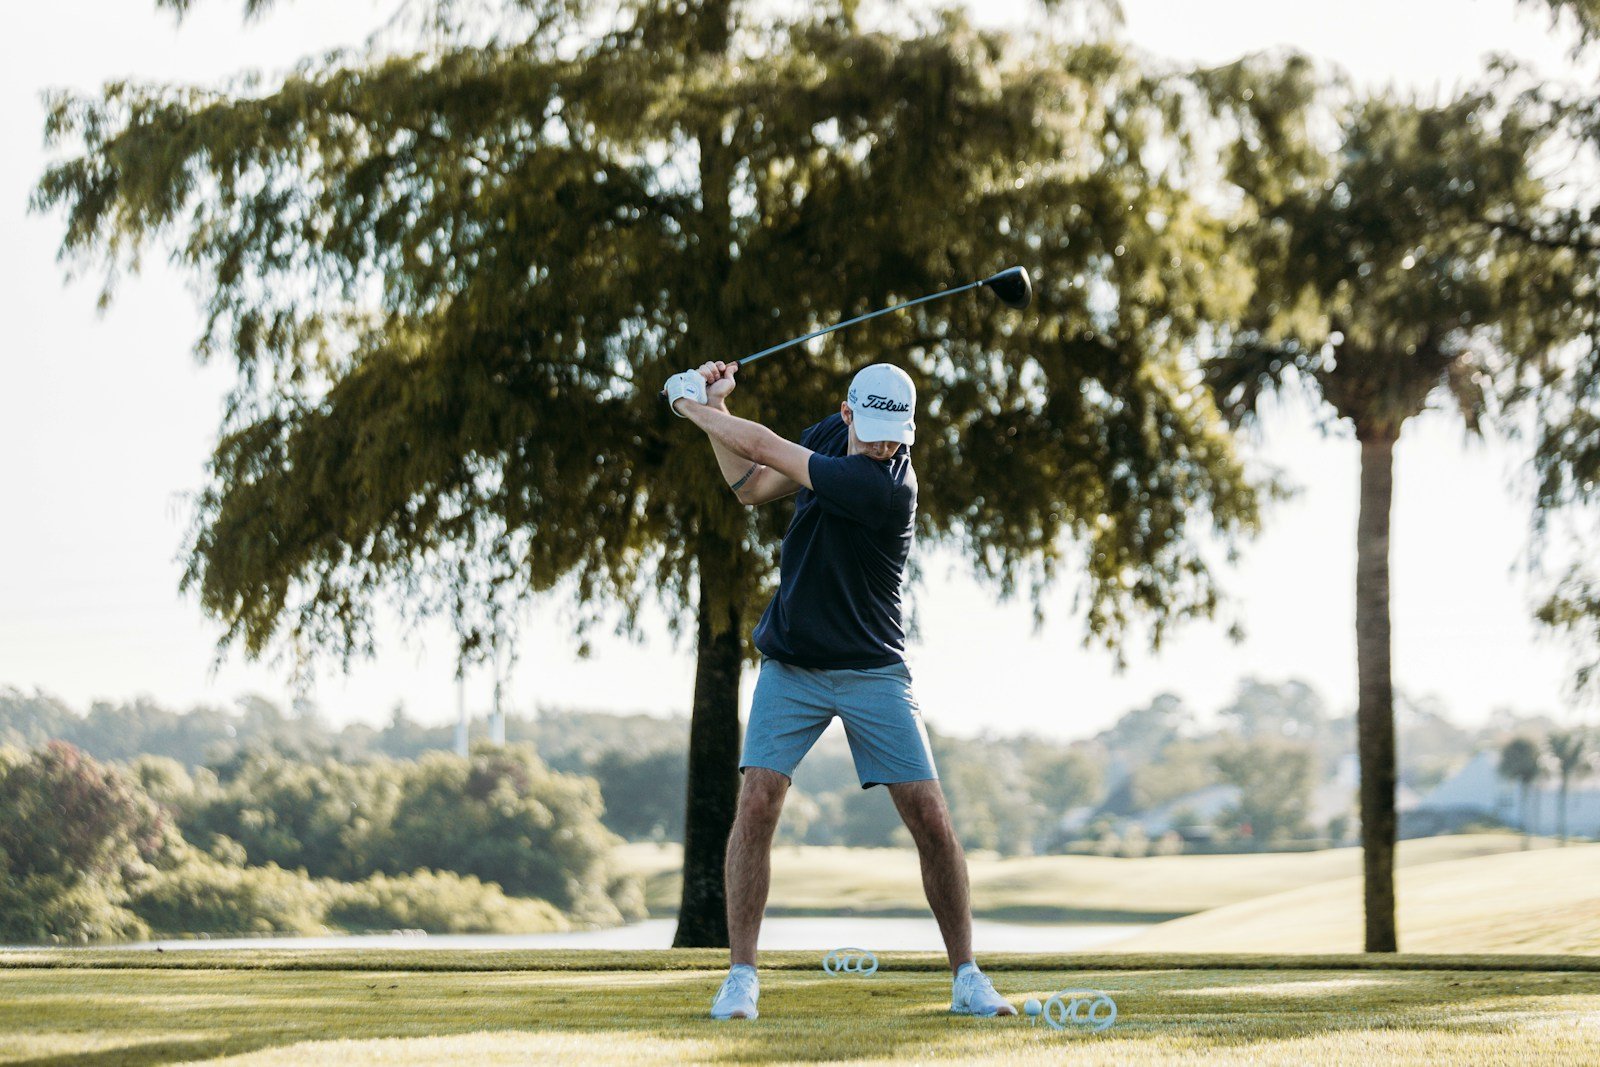
Notice what’s missing from that list: nothing about swinging harder or faster. P2 is a checkpoint of sequencing, not effort. Golfers who rush the takeaway with their hands almost never get a better position at P2 – they just get to the wrong position faster.
The Two Ways Golfers Get the Takeaway Wrong
Almost every flawed P2 golf swing position falls into one of two opposite camps. Knowing which one you have matters, because the fixes are different and, in some cases, opposite of what you’d guess.
Outside Takeaway: Early and Over the Top Before You’ve Even Started
An outside takeaway happens when the clubhead swings away from the ball outside the target line, usually because the wrists hinge too early and fan the clubface open. Instead of the club staying low and wide, it gets picked up and pushed out and away from the body.
This one is sneaky because it doesn’t feel wrong on the way back – it often feels powerful, like you’re really loading the club. The damage shows up later: an outside takeaway frequently leads straight into an over-the-top downswing, producing the pull or slice that so many golfers fight for years without realizing the fault actually started in the first foot of the swing.
The fix isn’t to consciously yank the club further inside – that just trades one manual compensation for another. It’s to quiet the hands and let your shoulder turn move the club instead. If your lead shoulder works down and around rather than lifting, the club tends to stay wide and on-plane without you forcing anything.
Inside Takeaway: Stuck Behind You Before the Backswing Really Begins
The opposite fault pulls the club too far inside the target line at P2, with the clubhead ducking behind your hands instead of staying outside them. It usually comes from a flat shoulder turn – the shoulders spin level instead of tilting, and the arms sweep across the body without the rotation to support them.
Counterintuitively, an inside takeaway often produces the exact same miss as an outside one: a pull or a slice. That’s because once the club is stuck too far inside early, most golfers instinctively lift and steepen their arms to recover on the way up, which sets up an over-the-top move on the way down anyway. Two different roads to the same bad downswing.
The fix here is not to force the club outside with your hands. It’s to get your lead shoulder moving down and out as you turn, not just around, and to let your trail arm stay connected in front of your chest rather than folding in behind you. Fix the shoulder tilt and the club stops getting stuck on its own.

How to Check Your Own P2
You cannot feel your way to a reliable P2 golf swing position. What feels “on plane” to a golfer with a bad habit is often nowhere close, because the hands compensate for years without you noticing. You need video.
- Down the line. Camera directly behind you on the target line, at hand height. Pause the video the instant the shaft looks parallel to the ground and check it against your toe line.
- Face on. Camera perpendicular to the target line, level with your hands. This view is where you’ll actually see whether the clubhead is still outside your hands or has already ducked inside.
- Same distance and height every time. Consistency is what lets you compare this week’s takeaway to last month’s, rather than guessing based on a slightly different angle.
A simple low-tech trick works alongside video: lay an alignment stick on the ground just outside your ball, parallel to your target line. Make slow-motion takeaways and watch whether the clubhead stays above the stick or drifts inside or outside it as the shaft reaches parallel. It’s a crude checkpoint, but it’s immediate feedback you don’t need a coach standing next to you to read.

Drills to Build a Reliable Takeaway
- The preset wrist check. Hinge your wrists until the shaft is parallel to the ground, as if you were starting from P2 rather than swinging into it, and check that the clubface sits at roughly a 45-degree angle – toe up, not wide open and not shut. Rehearse this static position a dozen times before you hit a single ball, so your hands learn what “not too open, not too closed” actually feels like.
- Alignment stick against the lead arm. Tape or hold a stick along the outside of your lead arm and the shaft. Make slow half-swings back to P2 while keeping space between the stick and your torso – this trains rotation instead of a hands-only lift.
- Tees under both armpits. Tuck a tee under each arm and make slow takeaways without dropping either one. It’s an old drill, but it’s still one of the fastest ways to feel your body, not your hands, moving the club away from the ball.
- The one-piece feel. Picture your hands, arms, shoulders, and the clubhead moving away from the ball as a single connected triangle for the first foot of the swing. If any one part starts moving independently – hands flipping, arms lifting, shoulders staying still – that’s usually the moment the takeaway goes wrong.
Do these drills in short, frequent doses rather than one long session. Ten slow-motion reps before you hit balls, every range trip, beats a single hour-long overhaul that your body forgets by the next round.
How P2 Connects to the Rest of Your Swing
P2 doesn’t exist in isolation. It’s the bridge between the setup you built at P1 and the top of your backswing at P4. A good address position makes a good takeaway far easier – if your stance and posture are already off, your hands will often try to fix it during the takeaway, and that’s exactly the kind of manual compensation that creates an outside or inside fault in the first place.
Golf.com has covered similar ground on why the first move away from the ball matters so much for everything downstream, and it’s worth a read if you want another instructor’s framing of the same checkpoint (see their piece on building a repeatable takeaway). The PGA of America also teaches the takeaway as the foundation checkpoint for exactly this reason – it’s the first opportunity in the actual motion of the swing to either keep things on plane or start a compensation chain that runs all the way to impact.
If you already know you rush the transition or lose your spine angle later in the swing, it’s worth checking whether those faults actually trace back to P2. A lot of golfers chase a downswing fix for a problem that started in the takeaway.
Frequently Asked Questions
What exactly is the P2 golf swing position?
P2 is the takeaway checkpoint in the P-system: the moment early in the backswing when the club shaft first becomes parallel to the ground. It comes right after address (P1) and right before the lead arm reaches parallel at P3.
Why does the P2 position matter if it’s so early in the swing?
Because it’s the first checkpoint where a plane fault becomes visible, and faults compound. A club that’s already outside or inside the target line at P2 rarely fixes itself by P4 – it usually gets worse, forcing a compensation later in the swing that’s much harder to feel and correct in real time.
Should my wrists be hinged at P2?
Only slightly. Most of your wrist hinge should develop between P2 and P3, not before it. If your wrists are already fully cocked when the shaft reaches parallel, you’re hinging too early, which tends to push the club outside the target line and open the face.
Can a bad P2 really cause a slice by itself?
Indirectly, yes, and it’s one of the most common hidden causes of a slice. Both an outside and an inside takeaway tend to force an over-the-top move later in the downswing as the body tries to recover, and an over-the-top path with an open face is exactly what produces a slice.
How do I know if my takeaway is too far inside or too far outside?
Film yourself face-on and check where the clubhead sits relative to your hands when the shaft is parallel to the ground. Outside your hands is correct. Level with or behind your hands means the club has gone inside; well in front and away from your body usually means it’s swung outside the line.
How long does it take to fix a bad takeaway?
Most golfers feel a real difference within two or three focused range sessions, since the takeaway is a small, low-speed motion that’s easy to rehearse slowly. Making it hold up under full swing speed and on the course usually takes longer – expect a few weeks of deliberate practice before it stops needing conscious thought.
Putting It Together
The P2 golf swing position isn’t a complicated checkpoint, but it’s an easy one to ignore because nothing about it looks dramatic on video. That’s exactly why it’s worth checking. A takeaway that’s a few degrees outside or inside the target line doesn’t feel wrong in the moment – it just quietly forces a compensation later that’s much harder to diagnose and fix.
Film your takeaway from both angles, check the six markers above, and resist the urge to manually steer the club into position with your hands. Let your body’s rotation do the work, keep the club connected to your turn, and P2 tends to take care of itself – which makes everything from P3 through impact noticeably easier to repeat.