In this Article
Replacing worn golf grips restores swing control, but you must allow time for the new grips to dry golf grips properly. This article provides tips to accelerate the grip drying process so you can get your regripped clubs back on the course quickly. Learn techniques involving airflow, solvent selection, drying aids, and environment optimization to promote fast drying while still ensuring strong adhesive bonding on your new grips.
Golf grips are one of the most important yet often overlooked equipment pieces in the game. The grip is the only connection between your hands and the golf club. High-quality grips can enhance your swing control, accuracy, and distance by promoting proper hand placement and reducing club twisting. However, grips slowly degrade over time and with consistent use. Exposure to weather, dirt, oils from your skin, and normal swing friction all cause the grip material to break down. Signs that it’s time to replace your grips include worn-down tread, smooth and shiny textures, or grips that feel slick and hard to grasp.
Replacing old, worn grips restores proper traction and tackiness so you can grip the club with confidence again. The regripping process involves removing the old grip, cleaning and prepping the shaft, sliding on a new grip, and allowing adequate drying time. Proper drying is a critical step when installing replacement grips. The solvents and adhesives need sufficient time to cure and bond correctly. Using clubs too soon can result in loose grips that twist or slip down. This throws off your grip alignment and reduces swing control. For best results, grips need to dry completely based on the solvent used before playing a round.
This article will provide golfers with tips for safely accelerating the golf grip drying process. While you may be eager to hit the course with your newly regripped clubs, patience is required. We will cover techniques involving fans, airflow, grip solvent selection, and more to promote faster drying without compromising grip adhesion and performance. Follow these drying tips to get your grips ready for the course as quickly as possible while still maintaining a high quality installation. Properly dried grips will stay firmly in place and give you consistent swings and improved scoring potential.
Table of Contents
Why Grips Need to Be Replaced?
Golf grips deteriorate over time and use, even with proper care and maintenance. The constant friction and pressure of your hands grinding away during swings slowly wear down the grip material. Grips also get dirty from oils your skin leaves behind and from dirt and debris transferred from your hands and the course conditions. Exposure to heat, humidity, rain, UV rays, and other environmental factors also breaks down the rubber and composite grip materials.
As the tread wears smooth and the grip texture gets slippery, you lose traction and control of the club. Your hands can twist slightly during the swing, throwing off your shot alignment and reducing accuracy. Hard, smooth grips also don’t absorb vibrations as effectively. This can lead to sore hands and fewer solid ball strikes. You have to grip the club extra tight to prevent slippage, which adds tension to your arms, shoulders, and hands. This tension restricts your swing mobility, velocity, and consistency.
Installing a fresh new grip combats these issues. The soft, tacky tread promotes ideal hand placement and stops your hands from sliding during the swing. Your grip pressure returns to a comfortable level, reducing strain on your hands and arms. The enhanced traction also allows your wrists to hinge naturally, adding a whip to your swing for more distance. With fresh grips, you regain total control over the clubface. This restores proper impact dynamics for more accurate and consistent ball-striking. Ultimately, new grips give you the confidence to grip it and rip it without fear of club twisting or slippage.
The Golf Grip Replacement Process
Preparation
Properly re-gripping your clubs requires careful preparation and installation. First, inspect your current grips to determine if replacement is needed. Look for excessive wearing, smooth/hard textures, or any slipping during swings. If the grip is compromised, it’s time for fresh grips.
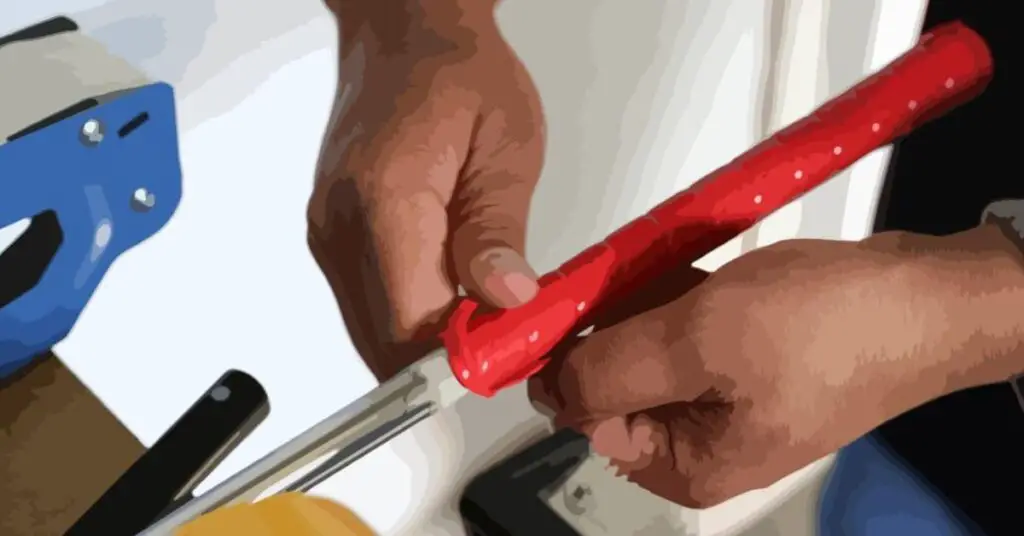
Start by removing the old grips. Use a small sharp knife to peel up an edge, then slide the blade between the grip and shaft to cut the old adhesive. Take care not to scratch or cut the graphite/steel shaft. Solvents like mineral spirits or acetone help soften old tape underlayers for easier removal. For stubborn grips, an air compressor blown under the grip edge provides quick removal.
With old grips stripped off, thoroughly clean the shaft with soap and water or solvents like alcohol. Lightly sand to remove any burrs and roughen the surface for optimal grip bonding. Clean off any dust with a dry towel. Now the shaft is prepped and ready for the new grips.
Regripping
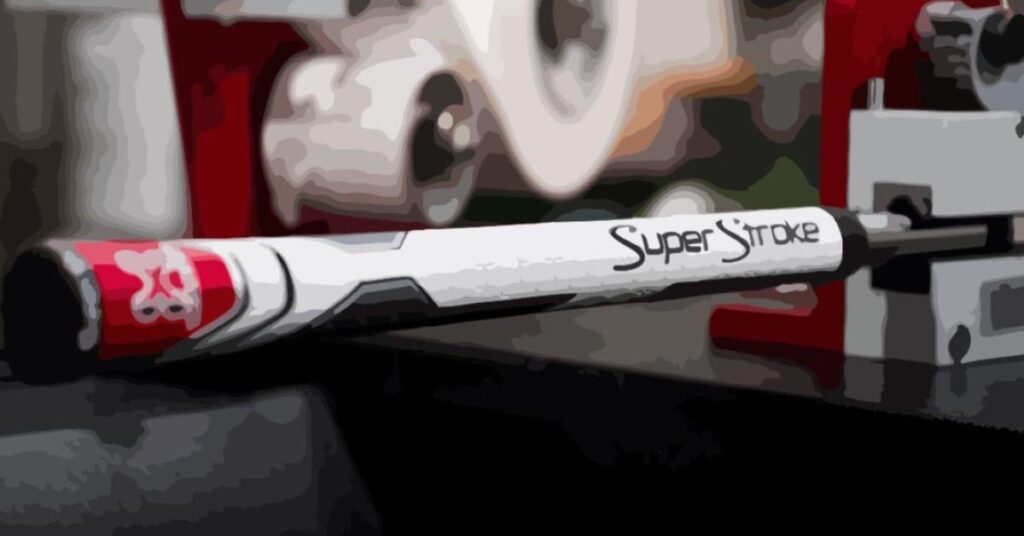
Select the desired grip model and size that best fits your hands and swing style. Grips come in a range of materials like rubber, polymer, or cord options in various patterns and textures. With the right grips picked out, apply a solvent-based or water-based adhesive solution evenly along the full shaft length. Slowly slide the new grip into position, aligning the logo facing up and the end flush with the shaft tip.
The final vital step is allowing the new grips time to fully cure and bond before playing. Solvent-based adhesives normally only require 2-3 hours of drying time. But water-based solutions need upwards of 24 hours to completely dry. Letting the clubs sit overnight ensures proper adhesion and prevents any slipping or rotation on the course. Patience pays off with grips that stay firmly installed for many rounds.
The Importance of Proper Drying Time
Consequences of Early Use
It can be tempting to rush your clubs back on the course shortly after installing new grips. But using them too soon compromises performance and adhesion. The solvents and adhesives need adequate time to fully cure and bond correctly. Grips used prematurely often loosen and rotate during swings. This misaligns your grip placement, reducing swing control and clubhead speed. You’ll struggle to square the clubface at impact, spraying shots all over the course.
Another issue is uneven grip texture with early use. The upper grip area closer to the shaft dries faster than the lower portion. This creates an inconsistent feel and traction across your hands. Sections will feel overly slick requiring tight squeezing to prevent slippage. This also necessitates fully re-gripping the clubs again after the initially improper drying.
Recommended Drying Times
To avoid these problems, let your grips dry sufficiently based on the solvent used. For common solvent-based solutions, drying only takes 2-3 hours in ideal conditions. However, water-based adhesives require much longer upwards of 24 hours to fully cure. For confidence your grips are ready for the course, let the freshly gripped clubs sit untouched overnight. This allows the adhesive’s bonding agents to harden across the entire grip length without disruption. Then you can play your next round knowing the grips will stay firmly in place and perform exactly as expected.
Techniques to Dry Golf Grips Fast
Now that the importance of proper grip drying time is clear, let’s review methods to accelerate the process without compromising quality. With smart techniques, you can have your clubs competition-ready without waiting days for the standard adhesives to cure.
Modifying the Environment
One of the easiest ways to reduce drying time is optimizing the surrounding conditions as the grips cure. First, use a fan to blow gently on the clubs. The airflow circulates evaporation, preventing any moisture from pooling on the grip. Position the fan several feet away to avoid blowing too strongly.
Next, place the freshly gripped clubs in a warm, dry, well-ventilated room. Heat speeds evaporation, shortening cure time. But avoid extremely hot areas like attics or direct sunlight which can damage the grips. The low humidity also prevents excess moisture from slowing the drying. For optimal airflow, lay clubs on a table rather than upright in a bag. Turning the clubs periodically ensures even drying across all sides.
Application Methods
The products used during regripping also influence total drying time. Solvent-based grip adhesives dry remarkably faster than water-based formulas. The solvents evaporate quickly while still providing a strong bond. Expect only 2-3 hours until completely cured. This makes solvent solutions ideal for rushed golfers who need their clubs ready ASAP.
When applying any grip solution, use thin, even coats along the shaft. Too much adhesive leads to pooled moisture inside the grip taking longer to dry out. Lightly wet the shaft exterior right before sliding on the grip for best results. And firmly rotate the grip during installation to disperse the solvent evenly inside.
Advanced Drying Aids
Some additional tools further accelerate grip drying for the most impatient golfers. A hairdryer on a low, cool setting speeds evaporation from the grip exterior. Keep the dryer moving constantly to prevent overheating smaller sections. Positioning clubs near a dehumidifier also extracts excess moisture from the grip adhesive.
For the fastest possible drying, use an air compressor with a blowgun attachment. Set the pressure between 30-50 PSI and lightly blow air into the grip interior through the butt end. The airflow flushes out moisture in minutes. Just be cautious not to aim the air directly at the shaft adhesive since the force can break the bond.
Checking Dryness
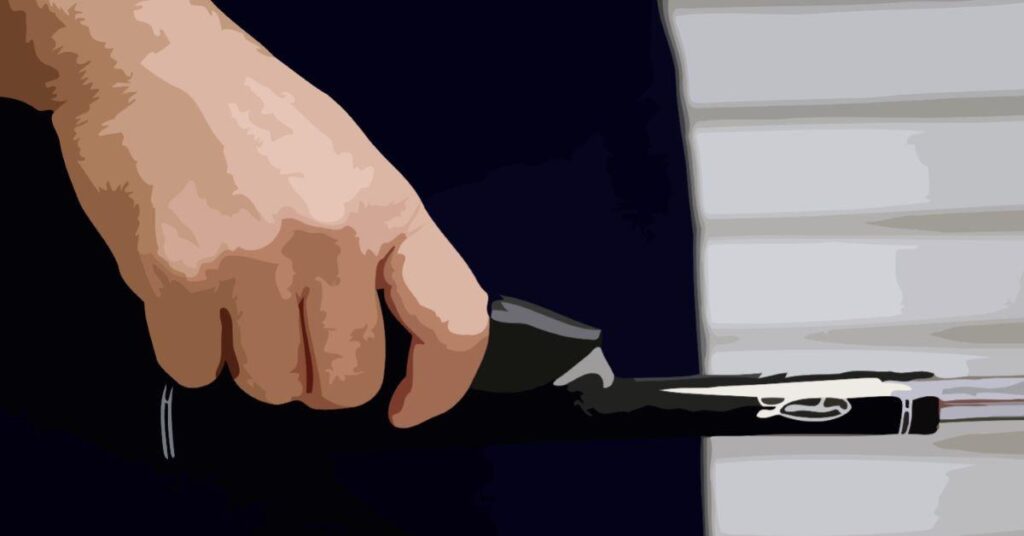
After utilizing drying aids, how can you confirm the grips are ready for play? First, firmly twist the grip to check for any loosening or sliding. Properly cured grips will hold tight with no rotation. Next, feel across the entire grip surface. There should be a consistent tacky texture with no overly slick spots. Softness around the lower section means more drying is needed.
As a final precaution, waiting overnight provides peace of mind the curing process is fully complete. This gives the adhesive time to harden fully even deep inside the grip layers. Then you can play a relaxed round knowing all moisture has evaporated and the grips are bonded solidly in place.
Caring for Grips After Installation
Once the grips have dried, a few extra steps ensure they stay fresh and last many seasons. First use a clean, dry cloth to wipe away any visible adhesive residue left behind on the grip exterior or shaft. Next, apply a thin layer of grip wax to protect the rubber from drying out over time. Buff gently with a cloth to produce an even, polished finish.
It’s also smart to periodically check grips for signs of wear now that play has resumed. Look for smooth spots, cracks, or damage from impacts and replace them as needed. And store clubs properly when not in use. Keep away from direct sunlight, extreme heat, and high humidity to prevent premature breakdown. With regular inspection and care, properly dried grips maintain their quality round after round.
Conclusion
Re-gripping golf clubs is a routine maintenance task for maintaining proper swing control and scoring ability. While it is exciting to upgrade your grips, patience is required after installation to allow full adhesive curing. Using clubs prematurely results in loose, twisted grips that ruin your shot alignment, traction, and confidence. However, with smart techniques, you can accelerate the drying process without compromising quality.
This guide provided tips to quickly dry grips while still ensuring ideal adhesion. To recap, the key steps are optimizing the drying environment, selecting fast-acting solvents, using targeted airflow, and checking for proper bonding before play. Position clubs in a warm, dry room with plenty of airflow. Solvent-based adhesives shorten drying to just a few hours. Adding supplemental airflow from fans, dryers, or compressors evaporates moisture in the grip rapidly. But it’s still wise to let clubs sit untouched overnight when possible.
Properly dried grips lock into place on the shaft and retain a consistently tacky texture across the full length. This allows excellent traction and hand placement for total swing control. You’ll make a solid impact with the sweet spot more consistently, adding distance to drives and dialing in iron accuracy. Focusing on proper golf grip pressure points further enhances traction during the swing. Proper regripping improves backspin, launch angles, and ball flight as well. Expect lower scores and more enjoyment each round with perfectly installed grips.
While nothing replaces natural curing time, this advice allows you to maximize your playing time after regripping. Drying grips rapidly preserve excitement over your new equipment upgrade and save you from rounds with subpar performance. Be sure to also keep grips maintained after installation by regularly checking the condition and properly storing clubs. Following this definitive guide makes the grip replacement process fast, easy, and effective.